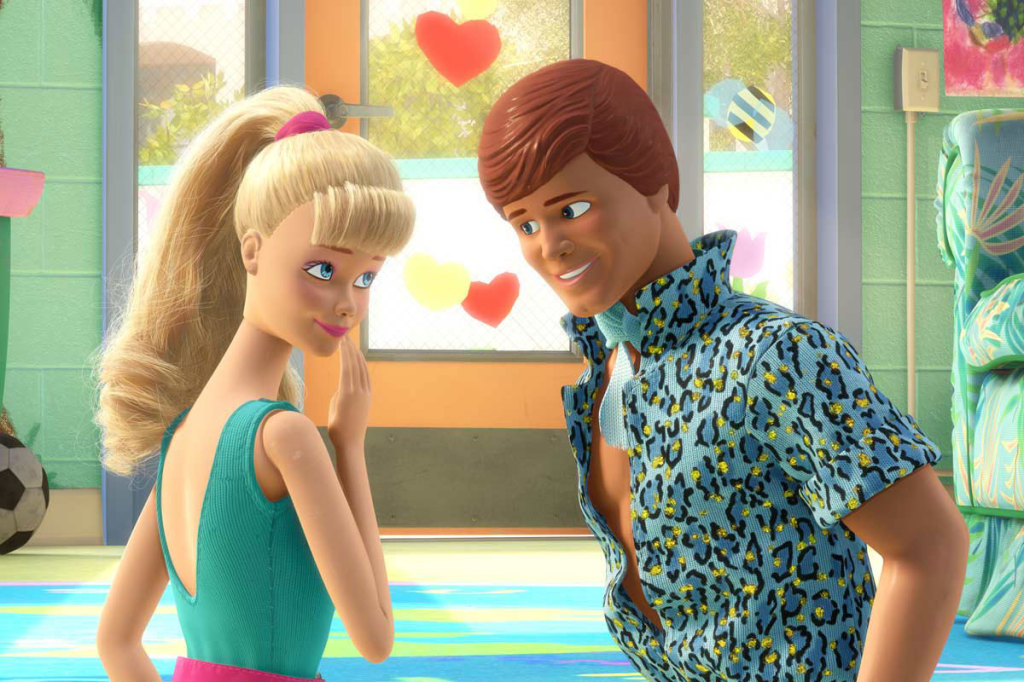
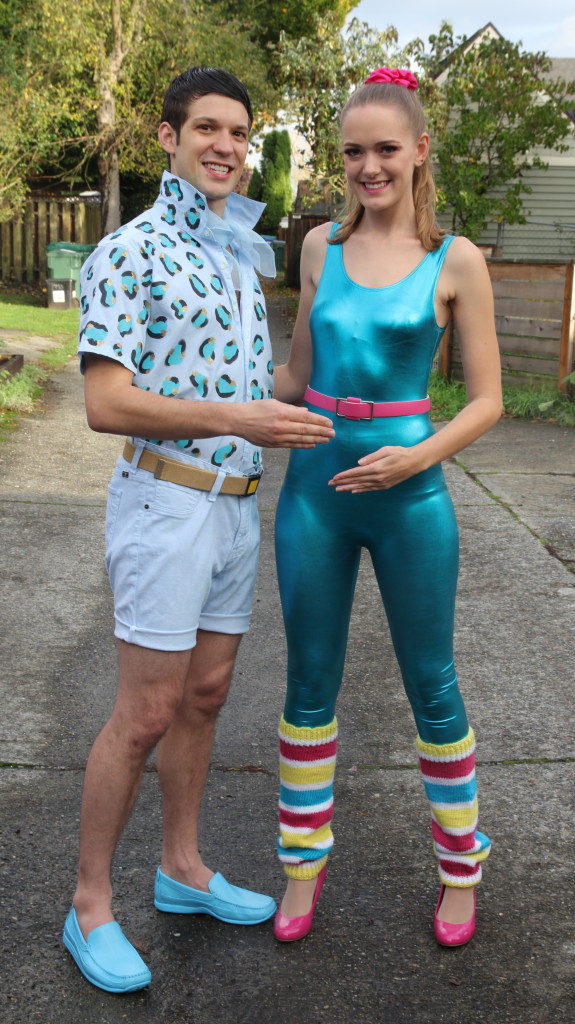
Generally when I am making costumes, I enlist the help of awesome online tutorials for the more difficult parts of the process. However, while making Barbie and Ken costumes (of the Toy Story 3 variety) for my boyfriend and I this Halloween, I found basically nothing to help me on my journey, so I had to figure it all out myself.
I decided I would, in turn, help the rest of you out trying to make these costumes yourselves by showing you what I did!
First, Barbie. Hers is the easy one.
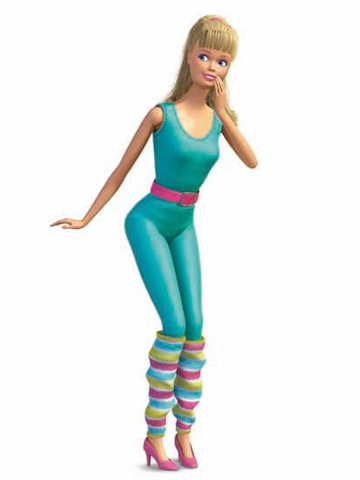
I basically bought every piece of the costume online and assembled it – pretty simple! The pieces you need are:
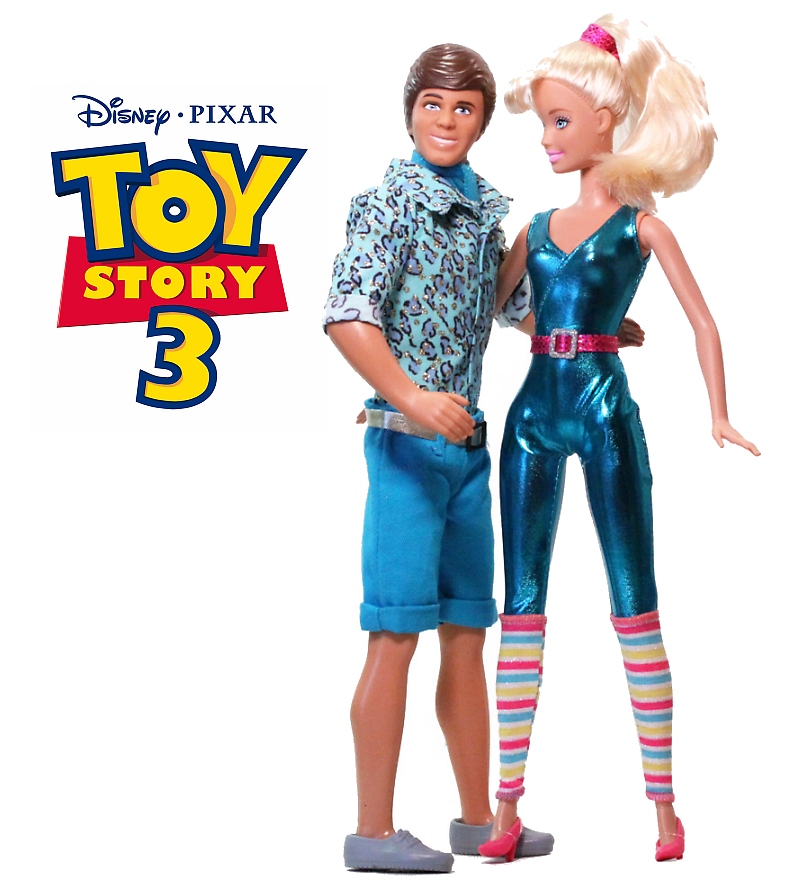
1. Stretchy blue one-piece (I bought this one). The picture at this link shows the solid, matte blue one (like she wears in the movie) but the metallic one is what came in the mail. I was a bit disappointed, but luckily this metallic one is what the actual barbie doll version of Barbie wears, so it will do just fine!
2. A pink belt or any belt that’s got the right buckle, painted pink – if it’s a leather belt, make sure to use leather paint (which you can buy at Joann’s or most other craft stores). I found mine online ages ago, but there are usually extensive belt sections at secondhand stores, so you’ll likely find something.
3. A pink scrunchie (I bought mine at Claire’s).
4. Pink pumps (I got mine at Payless Shoe Source).
5. Striped leg-warmers. Unfortunately this is the difficult part. I commissioned mine from a knitter I know (Bananavenger on Twitter), so that’s always an option – but you can always use these rainbow ones in a pinch.
That’s it! Barbie is ready! Now on to the slightly more difficult one, Ken.
So! The first thing about Ken’s costume to note is that none of it is stuff you’re likely to find online or at Goodwill. If you do, more power to you. I couldn’t, so I made it all myself.
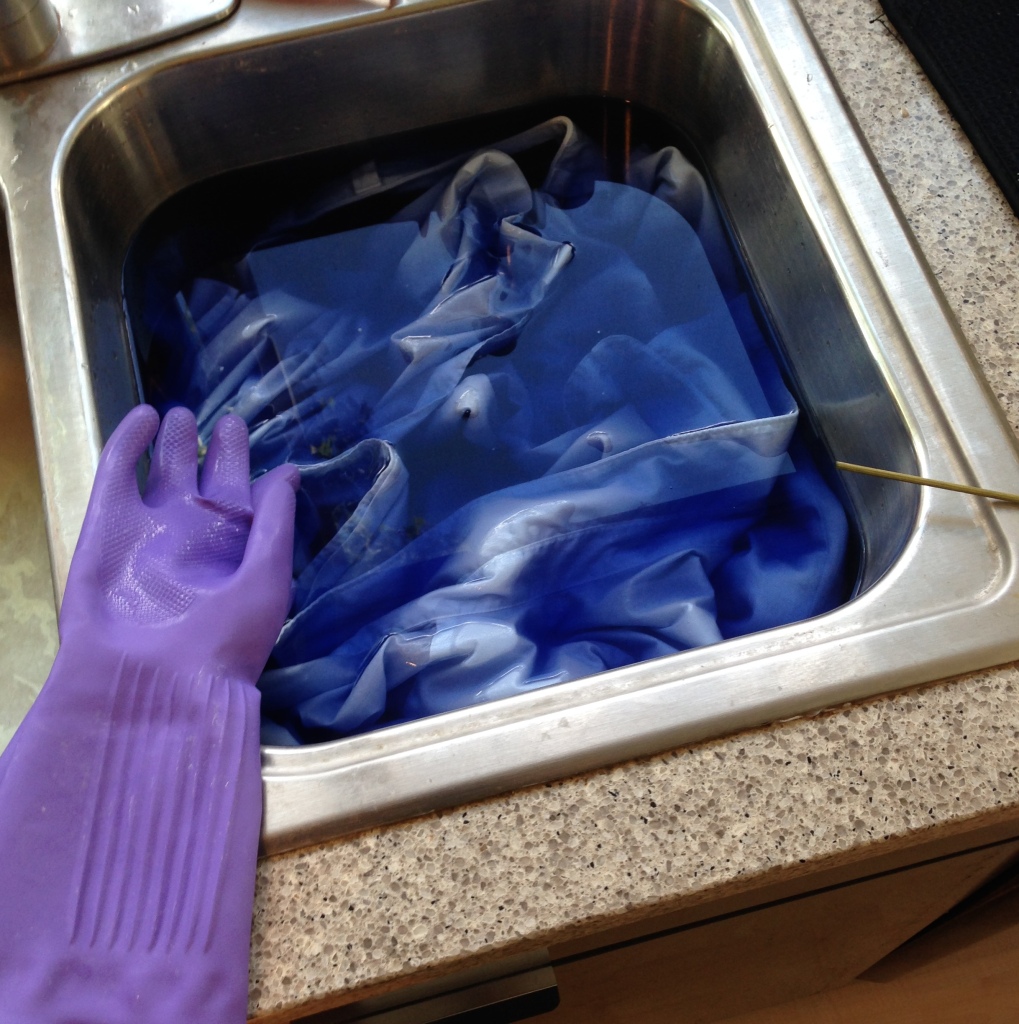
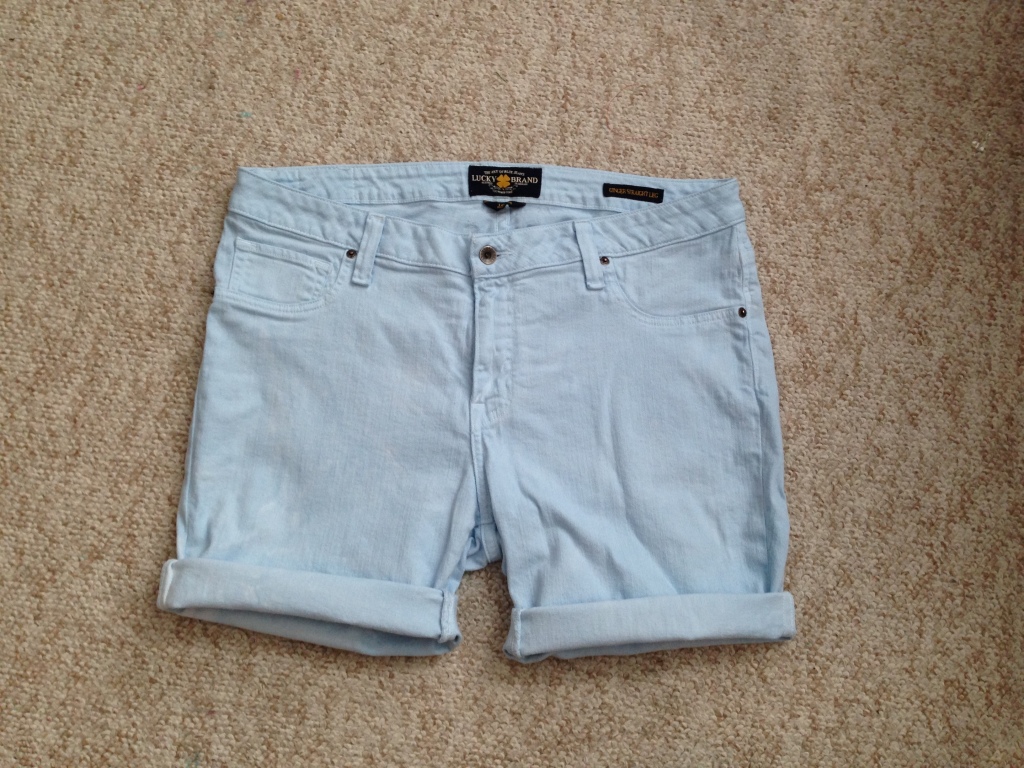
I couldn’t find any button down shirts or pants or shorts even remotely the right blues, so I went with a standard white shirt and a pair of white jeans, a size or two too big for my boyfriend so we could get that bunched look when he wears them. To conserve dye, I cut the pants off at the knee before dying. Then I bought two packets of “Dylon” dye in Chine Blue at my local craft store and went to town.
They both came out a nice light blue color – the shirt was perfect, though the shorts were a bit light. I ended up leaving them as they were, but if you want a nicer blue for the shorts, I would recommend buying a third packet of Dyson dye and doing them again.
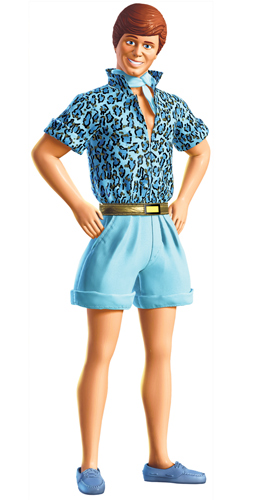
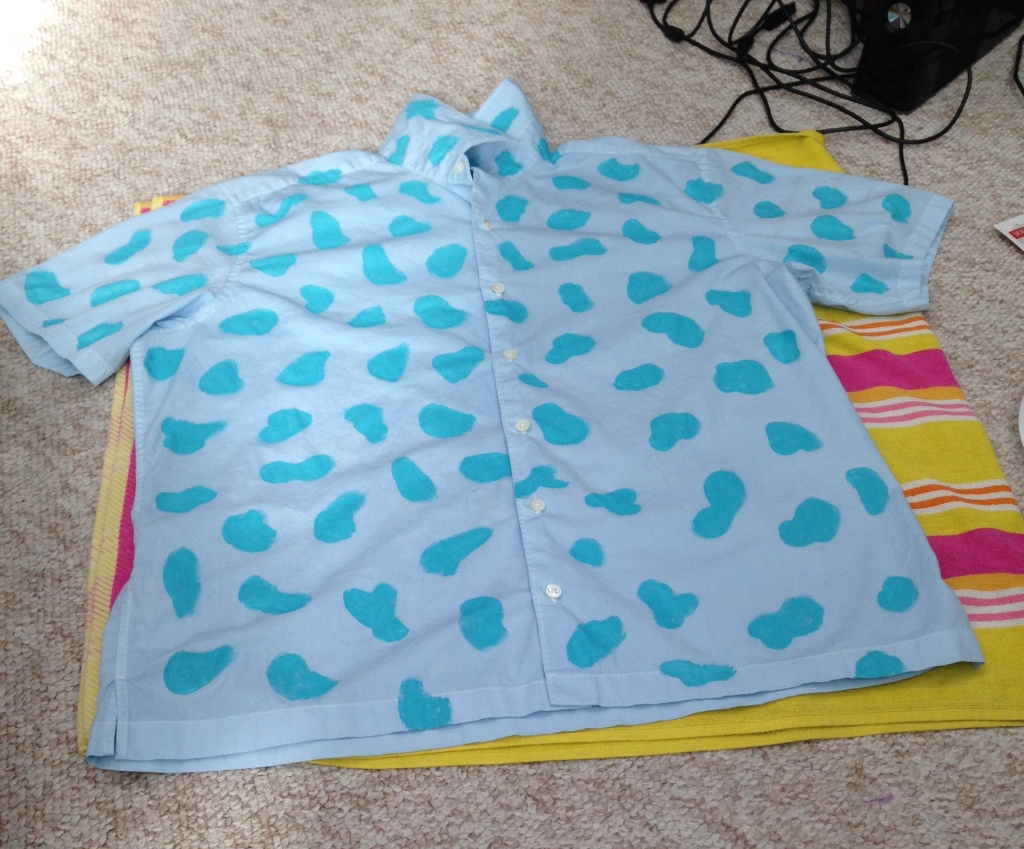
Then, start painting the shirt! I used fabric paint I bought from Joann’s, matching the colors as closely as I could. First I started with the blue spots, making them irregular and funky and covering the front of the shirt entirely. Make sure you place a piece of cardstock or something similar between the layers of shirt so it doesn’t bleed through or stick to itself when the paint dries.
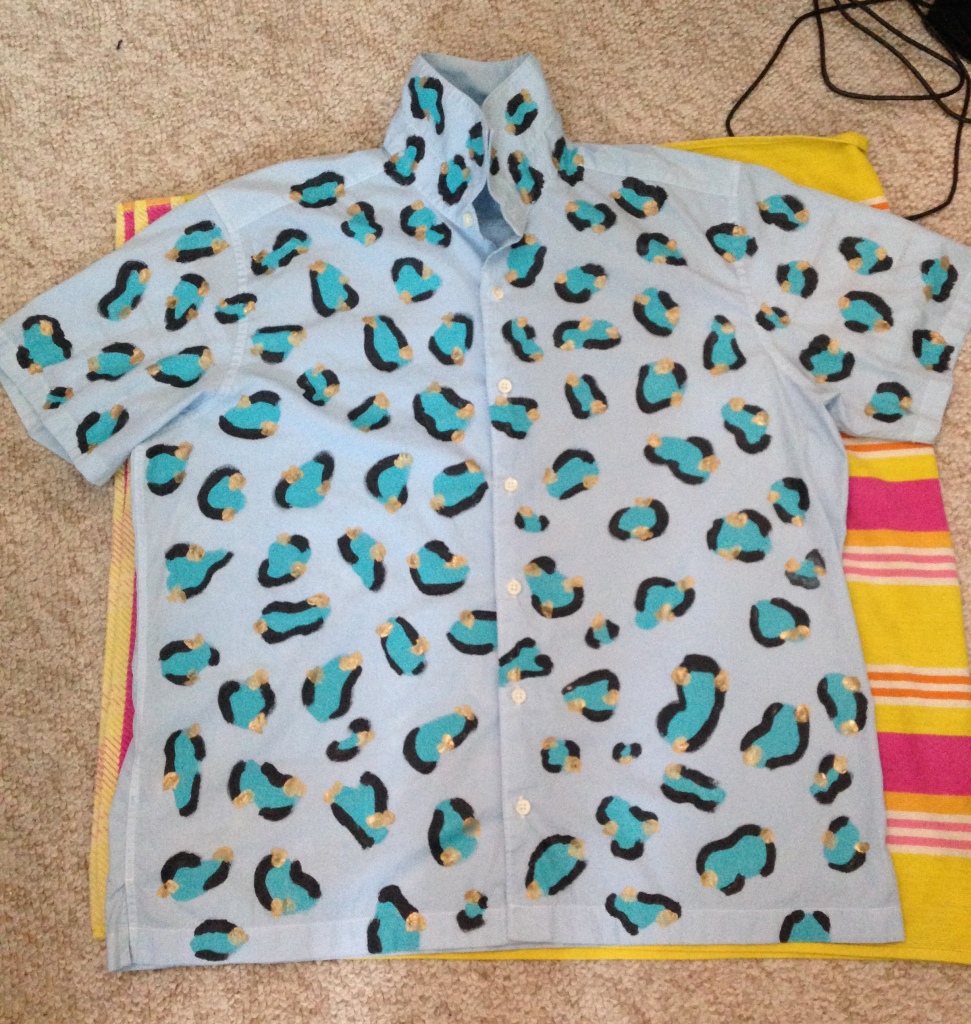
Let that layer dry, then add the black spots! Another round of drying and you can add the little gold embellishments. It takes forever, so make sure you watch something on TV while you do it.
Done! And to be honest, it looks much better than anything you’d be able to find online. There’s nothing wrong with using an existing blue cheetah print shirt, but painting it yourself looks so legit!
Repeat the same steps on the back of the shirt, and make sure to get both the inside and outside of the collar, since you’ll be popping it like you’re at a college frat party.
As for the shorts – regardless of whether you used pants or shorts, you’ll need to roll up the bottom hem to create that folded over look Ken has. It should stay on its own, but if it’s being difficult, throw a quick little stitch in the sides and it should be fine. You also might want to stitch in the “pleats” at the top, if the belt doesn’t quite hold the shape alone. This is something you’ll want to do while the shorts are being worn (to make sure they still fit after taking them in), so it’s kind of a two person job.
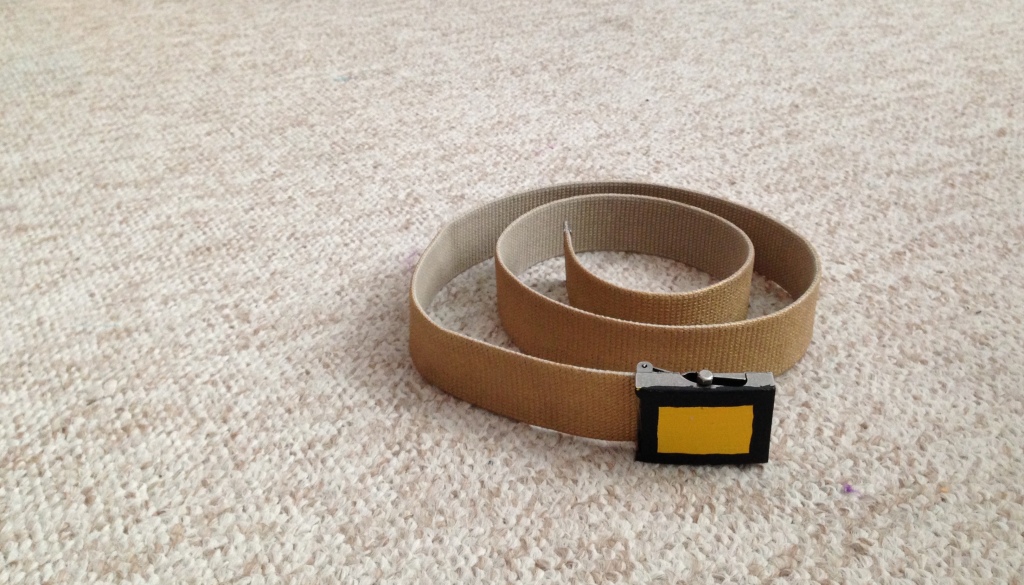
Next was the belt. I think what Ken actually wears is technically a leather belt, but finding a solid rectangle belt buckle on a leather belt was near impossible so I just went with this military style canvas belt in beige.
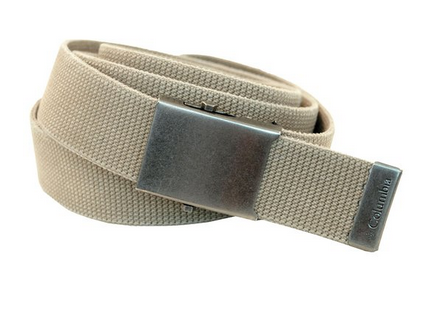 I used fabric paint (the same gold I used on the shirt) to paint the beige fabricy part, then painted the buckle with acrylic paint in black and yellow. Pretty straight forward, and it comes out looking like this:
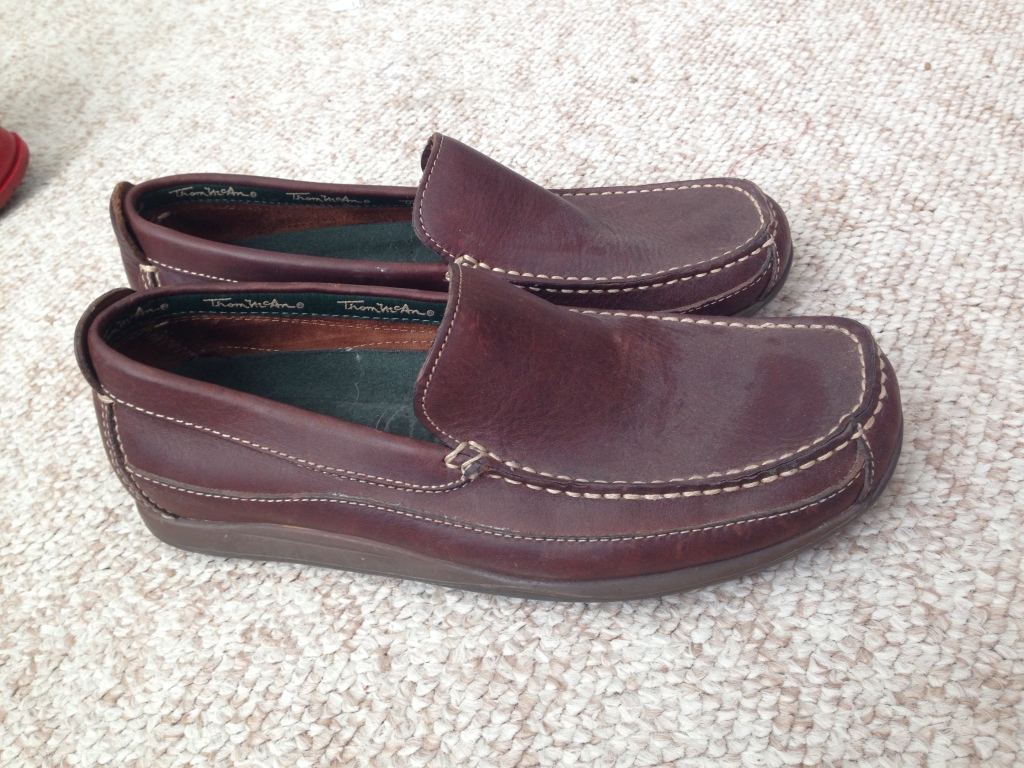
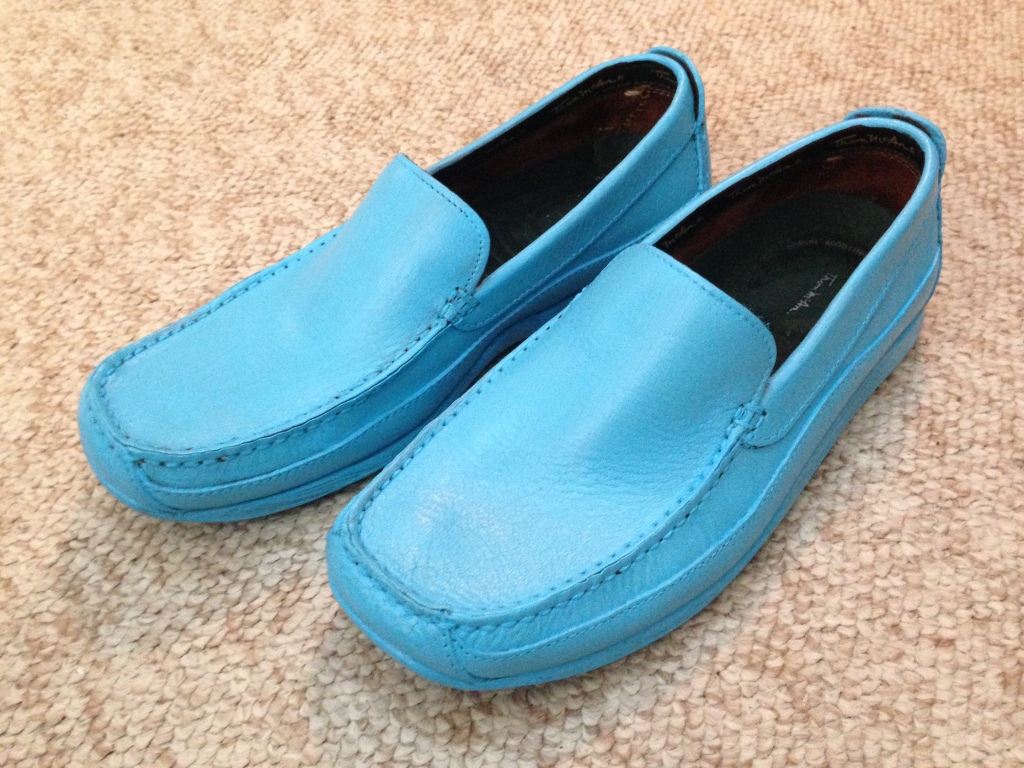
The shoes were super easy. I found this pair of leather slip-ons at Goodwill (technically Ken wears boat shoes, but this just seemed so much easier to paint and I don’t think anyone will notice).
Then I purchased a 4oz bottle of “Pale Blue” leather paint from Angelus Direct. I was worried the color might be too bright, but again, it was pretty near perfect. I’ve done shoe painting for costumes before and it usually takes 4-5 coats, but these shoes only took 2. After 2 coats, they looked solid, perfect, amazing. Also, as a tip, I prefer a sponge brush for painting leather.
Of course, the finishing touch is the ascot. Or the “regular blue neck scarf”, as I found it to be while researching, since an ascot is actually something entirely different and Barbie lied to you. You can make one yourself by purchasing a bit of silky blue fabric and tying it around your neck – or, if you want to just grab it online, you can buy this ladies neck scarf on Amazon and then just pretend it was always made for a male children’s toy.
And that’s it! Good luck with your own Barbie and Ken costumes, and send me a picture of your finished product if you used this tutorial! Happy Halloween! (or cosplay or Disneybounding, I suppose!)
