1. I Made This: Roasted Pumpkin Seeds!

    October 28, 2013 ♥ Posted in: Food, Kristina Makes Things by Kristina Horner

    I’m not even going to be bashful about this one – I am awesome at roasting pumpkin seeds. I learned how to make them from my mom years ago, and now I’m always that drill sergeant during pumpkin carving barking at everyone to “save your seeds!” It’s well worth it though, because no one seems to complain much when we have a huge amount of roasted seeds on the counter for the week around Halloween.

    IMG_5524

    Making seeds is super easy. This is all you will need:

    • Freshly scooped out pumpkin seeds
    • Olive oil
    • Johnny’s Seasoning (or sea salt)
    • Parchment or wax paper

    When you’re carving your pumpkins, keep two bowls out: one for guts, and one for seeds. Sorting them as you go is a lot simpler. After you’ve completely finished your lovely pumpkins (one thing at a time here) take the seeds into the kitchen and pick out any remaining bits of pumpkin guts. This step is obnoxious, but pretty important.

    Next, dump your seeds in a strainer and run them under cold water. This will help make them less slimy and should separate any pumpkin that you might not have caught. Once they’re as clean as you can get them, pat them dry with a paper towel and prepare your baking pan.

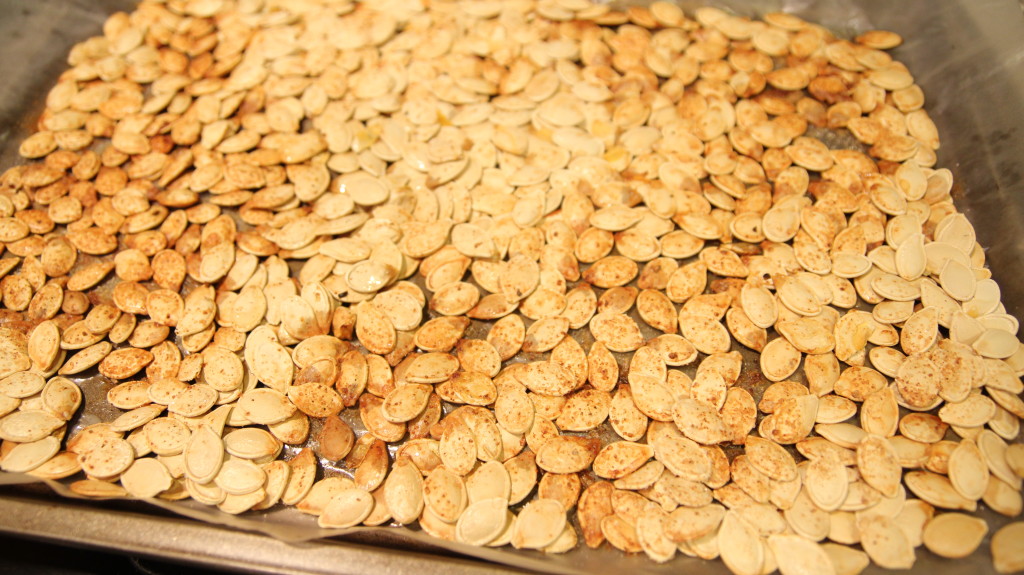
    I lined a pan with parchment paper, as see above. Then drizzle olive oil on the paper before dumping your seeds on top, making a single layer covering the entire sheet. Add a bit more olive oil on top, then sprinkle the entire sheet with Johnny’s seasoning (or your favorite substitute – you may also use sea salt, garlic salt; anything!)

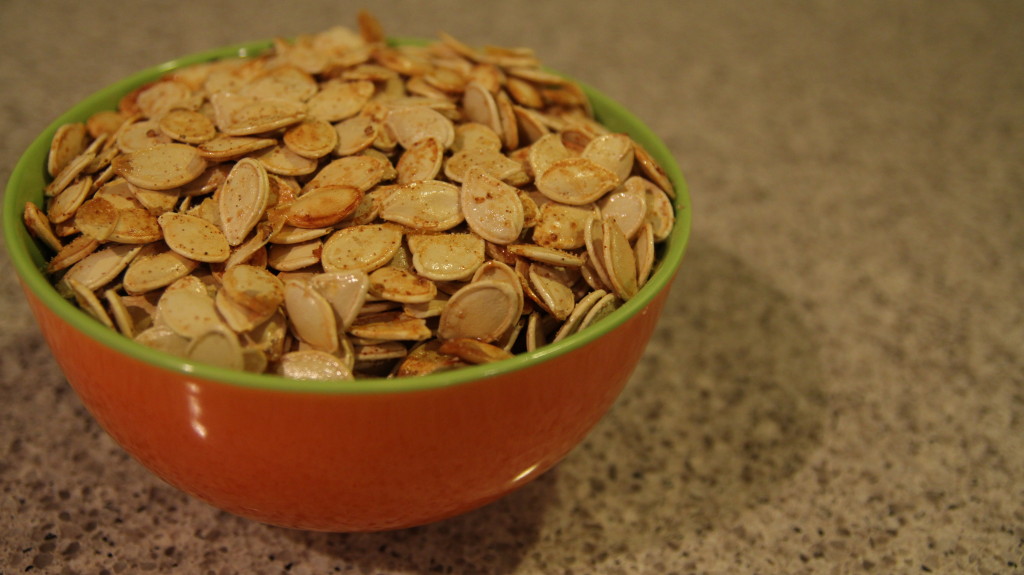
    The whole tray goes into the oven at 325 degrees F for about 20-25 minutes, or when they seeds get nice and crunchy. Remove them from the tray and enjoy! They’re particularly good while warm.

    IMG_5526

    How do you cook your pumpkin seeds? Or are you one of those people who (gasp) throws them away? Let me know in the comments!
    Leave a comment!
  2. I Made This: Meatloaf

    October 16, 2013 ♥ Posted in: Food, Kristina Makes Things by Kristina Horner

    In today’s installment of “Kristina the snarky chef makes things, sort of,” (it’s a working title), we’re going to make meatloaf. Because I thought, “hey, meatloaf is delicious and seems not super hard. Why not?”

    I’m going to preface this post by saying, why the heck does meatloaf have such a bad rep? I feel like most people stick it in the same category as brussels sprouts and mayonnaise (both of which are delicious, by the way) where people turn their nose up at it out of habit, but really, most people actually sort of love it. So, I decided to conquer my fear of cooking meat today and give it a go.

    Here’s what you need:

    1. 1 1/2 lbs of lean ground beef
    2. 1 cup bread crumbs (I used a seasoned variety, but use whatever you want)
    3. 1 egg
    4. 1/2 an onion
    5. 1 cup milk
    6. 2 tablespoons brown sugar
    7. 1/3 cup ketchup
    8. 2 tablespoons BBQ sauce
    9. salt and pepper

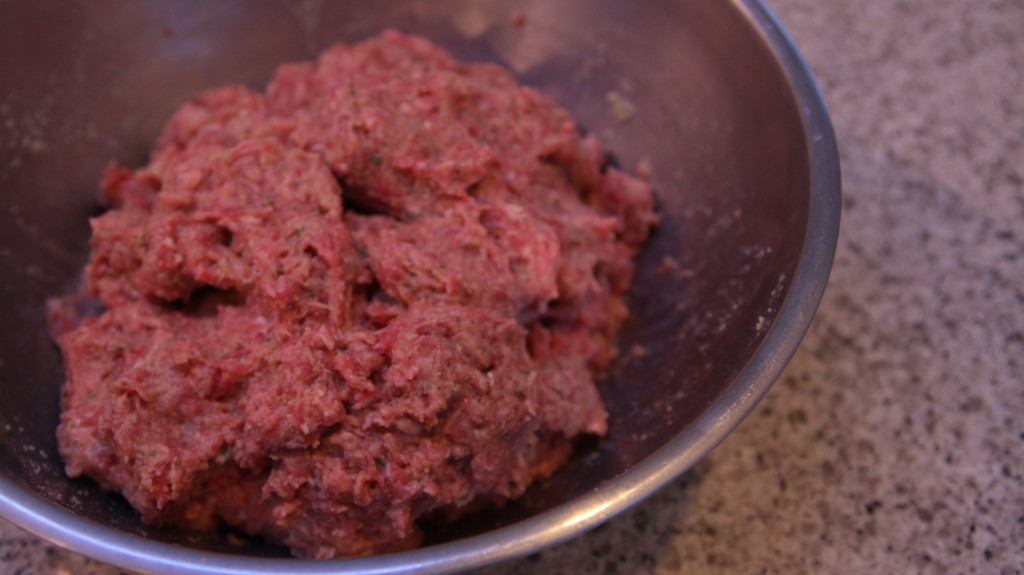
    Let me just say – cooking meatloaf is FUN. You stick a bunch of random stuff in a bowl, squish it around with your fingers, build a bust of yourself out of the gooey substance… unbuild the bust of yourself, and finally just sort of shove it all in a cooking pan. So easy. It’s like playing with play-doh, but even more delicious. I mean look at this:

    IMG_5316

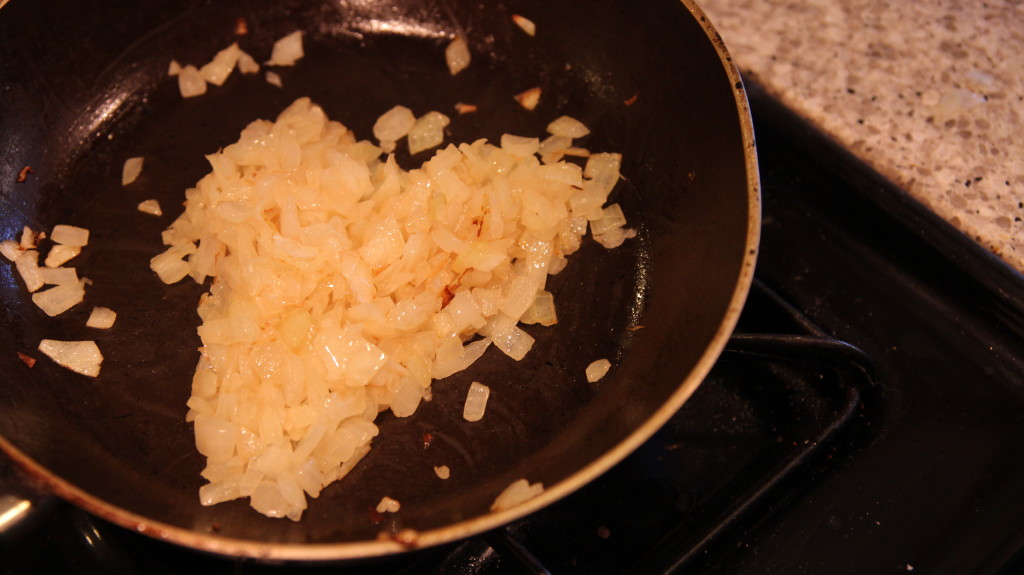
    In this bowl, you mix the ground beef, egg, milk, bread crumbs and salt/pepper until it looks like Meatwad from Aqua Teen Hunger Force. In the mean time, you should chop up and sauté the onions until they’re cooked-ish, otherwise they’ll be a bit too crunchy in your meatloaf.  My roommate Liz thought it would be funny to organize the sautéing onions into a heart shape for you guys:

    IMG_5315

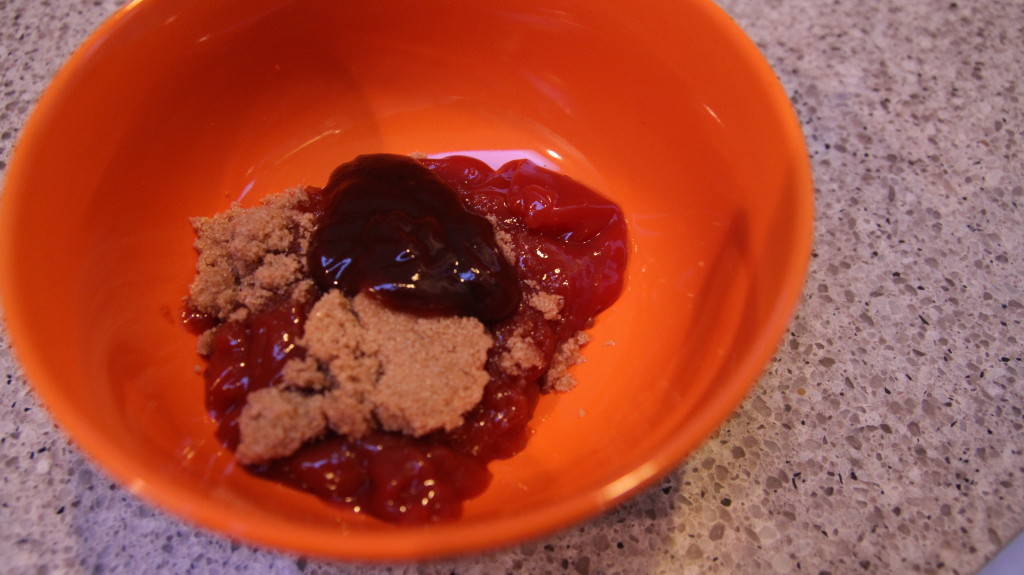
    Dump the onions into the meatloaf, and then mix it again. Careful touching it with your hands, as the onions are hot. Set the completed mixture aside for awhile while you prepare the final step, the sauce. Mix the ketchup, brown sugar and a couple spoonfuls of your favorite BBQ sauce in a small bowl.

    IMG_5317

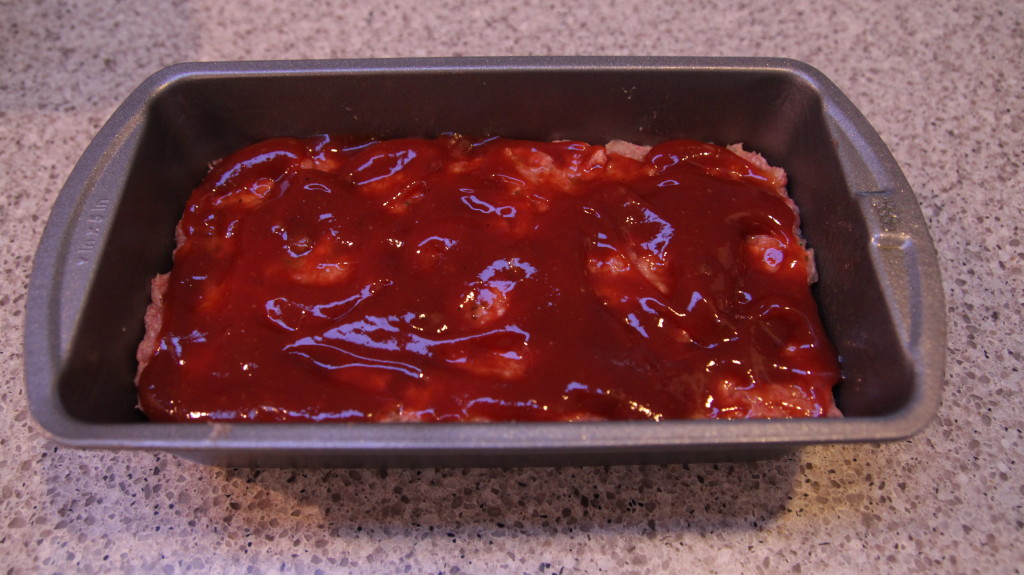
    Once it’s smooth, you can arrange the meat mixture in your baking loaf tray (5×9″ works best) and then dump the sauce evenly across the top. Yeeeeah meatloaf!

    IMG_5319

    Stick the whole thing in the oven for about one hour at 350 degrees F. To check if it’s done, just cut into it. If it’s still pink on the inside, put it back in the oven for another 5-10 minutes. Or eat it raw, vampire. I’m on to you.

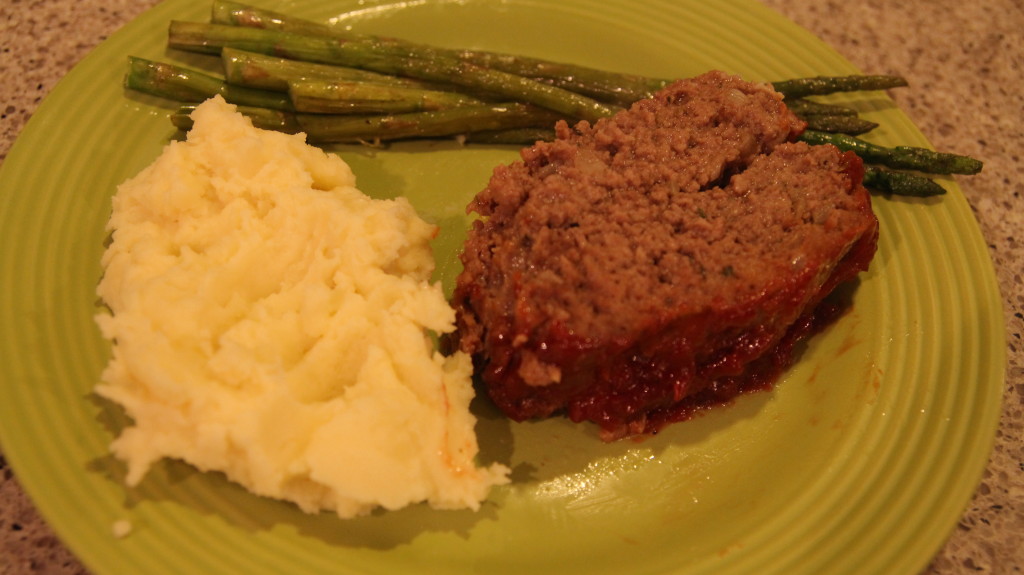
    When it’s done, combine it with other wholesome “family” type foods, and trust me, you’ll super impress your grandma once you put photos online. As long as she has Facebook. Your grandma has Facebook, right?

    IMG_5321

    Let me know if you have any suggestions for other easy foods for me to try! Also, let me know if you try any of the recipes I post on my blog, and send pictures! I would love to see them.

    Leave a comment!
  3. I Made This: Avocado Bagel

    October 11, 2013 ♥ Posted in: Food, Kristina Makes Things by Kristina Horner

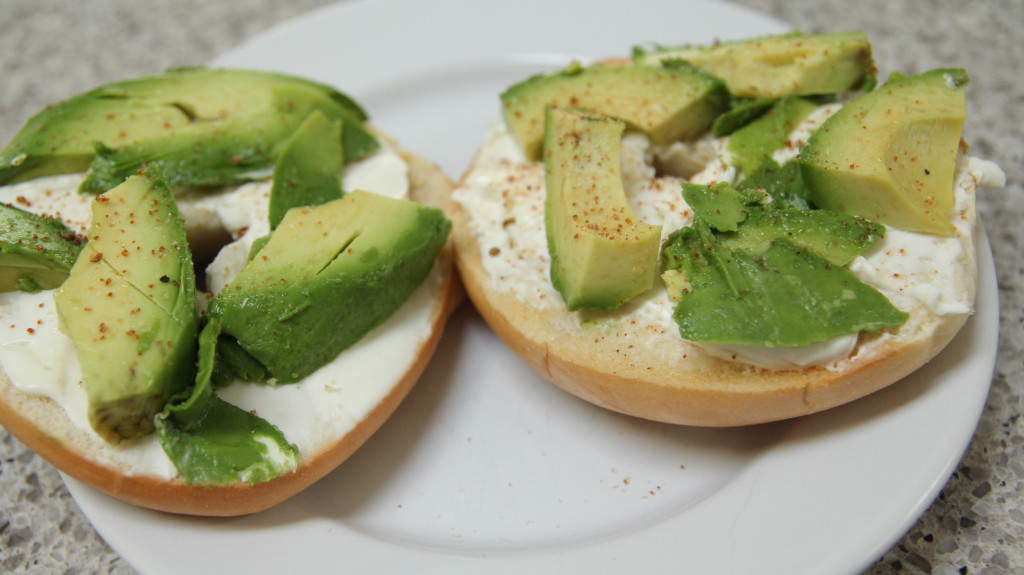
    Okay, I’m about to share with you my secret favorite snack. This is a huge deal, as it has secret in the title and that means no one else knows about it. Except I guess Instagram, since I posted a picture of it one time. The food item we will be making today is the Avocado Bagel.

    Just to clarify, this isn’t an avocado flavored bagel (though how cool would that be?!) because I am not that caliber of chef; I can’t infuse the flavor of one delicious food into another, no matter how awesome that would be. No, what we’re doing today is putting avocado on a bagel, which sounds simple, yes – but if it’s so simple, why haven’t you thought of it before?

    IMG_5312

    Ingredients you will need:

    1. A bagel
    2. Plain cream cheese 
    3. 1 avocado
    4. Seasoning of your choice

    First toast the bagel to your liking. I can’t stand when my bread gets even the slightest bit burnt, but to each their own. I guess the toasting settings wouldn’t go all the way up to 10 if no one used them, right? Anyway, stick the bagel in the toaster and let’s stop getting off track.

    Next you should cut your avocado open by cutting it lengthwise. You’ll only need half, so stick the side with the pit (it helps it keep longer!) in a ziplock bag or tupperware and toss it back in the fridge for tomorrow. Or make guacamole; you’re a grownup, you can do whatever you want.

    Once the bagel is toasted, spread cream cheese on it evenly, then place pieces of avocado on top, cut into strips or cubes or however you want. Then, top if off with your favorite seasoning. I like Johnny’s Seasoning Salt (it’s sort of an all purpose seasoning) but you can use garlic or an italian seasoning or whatever you want. That’s all there is to it!

    This is such an easy afternoon snack, and it’s relatively healthy. I hope you enjoy it!

    Leave a comment!
  4. Look #20: Fall Farmer’s Market

    October 7, 2013 ♥ Posted in: Fashion/Beauty, Food, Journal by Kristina Horner

    tumblr_mub5srXAFC1qbyopio1_500

    This weekend I was helping Joe move into his new apartment, when we noticed this adorable little Farmer’s Market settled in a lot about halfway between his place and mine. I’m not quite sure how I never noticed it before, but you can bet we pulled off to check it out.

    As pictured above, my greatest conquest of the trip was a crate of four boxes of blackberries that I can’t wait to turn into pie. I grew up next to a long, long street rich with blackberries along the entire left side, and ever since I moved away from home, I feel a nagging to pick berries come September. I don’t have any wild bushes around me anymore, so finds like this will have to do.

    I’m wearing a basic olive tank, a mustard crocheted cardigan and medium brown boots from Forever 21, think comfy olive socks from Target, and some fun patterned leggings I literally bought at a random K Mart in Montana because I did not pack warm enough clothes for my family road trip to North Dakota last winter. Fun and functional! The heart pendant necklace was a gift, so I’m not sure where it came from.

    Speaking of fun fall activities, I’m also currently running a great giveaway on Subblime to win a pair of Finn or Jake footy pajamas from ThinkGeek. Check out my recently posted list of Favorite Halloween Accessories and enter today!

    Great for pajamas, a rainy day at home, or a super simple Halloween Costume!

    What’s your special “fall” tradition? Apple picking? Hikes in the crisp autumn air? Going to a pumpkin patch? Let me know in the comments!

    Leave a comment!
  5. I Made This: Spaghetti Squash!

    October 1, 2013 ♥ Posted in: Food, Kristina Makes Things by Kristina Horner

    Welcome to Round Two! The theme this time? “Kristina likes this semi-exotic food, and then her mind is blown when she realizes it’s so easy to make that she’s embarrassed she never tried it before.” Let’s begin.

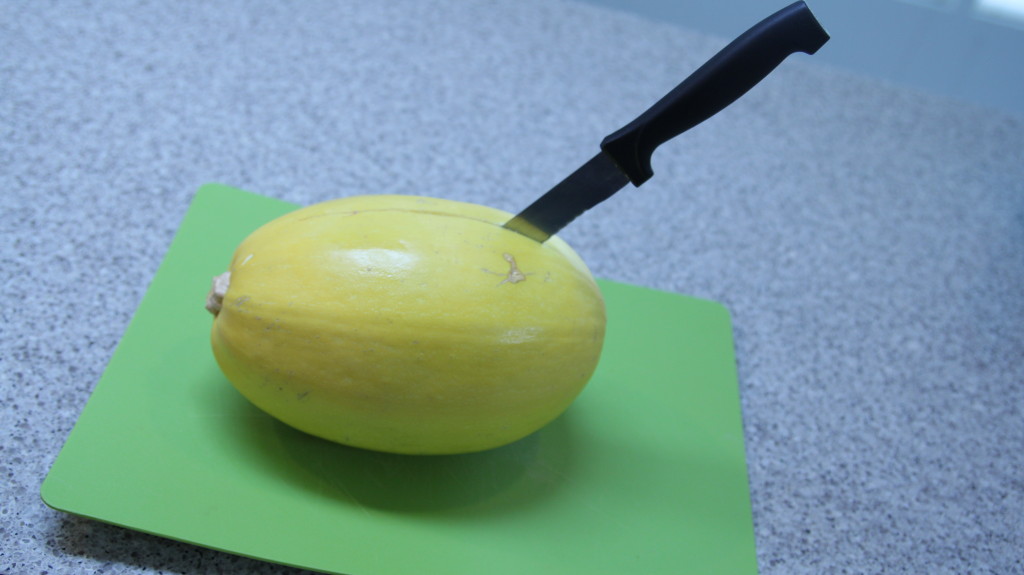
    IMG_5280

    So, let me preface this by saying all you really need is the Squash itself. I thought it was going to be super complicated, but you literally just cook a squash and spoon out its guts.

    Ingredients:

    1. Spaghetti Squash
    2. Big Knife
    3. Muscles

    Ah, a problem. Muscles. Right. I don’t have those. So, there are two tricks here. One, ask your roommate who is much stronger than you to cut the squash in two, lengthwise. Don’t have a strong roommate? Dang. Okay, plan B. This is to cut a few little ventilation slits into the squash (even someone lacking muscles can do this) and then stick it in the microwave for 5-10 minutes to soften it up. Then, using an oven mitt to steady the squash (because it’s hot now, duh), cut that sucker in half.

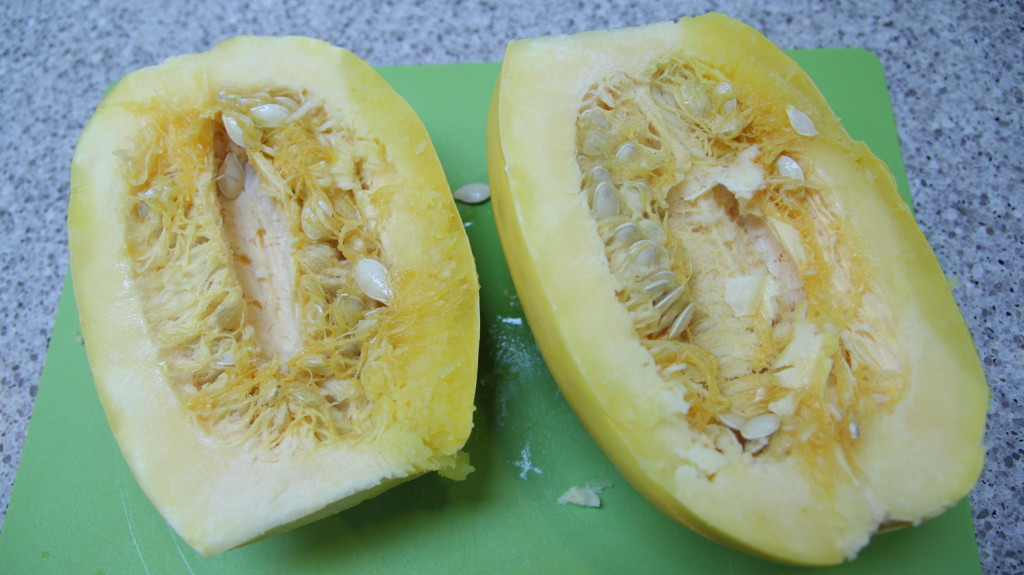
    IMG_5282

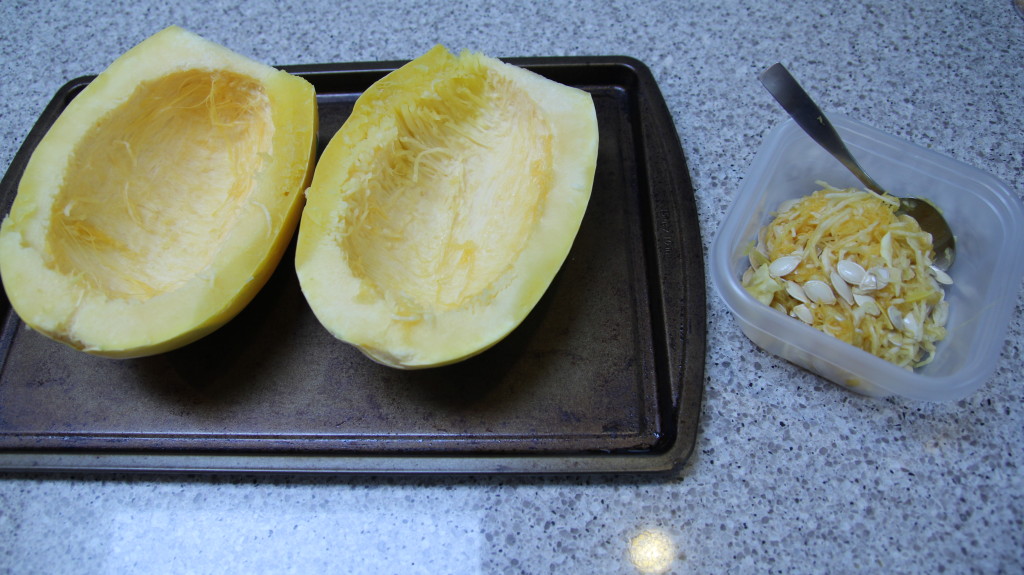
    Yummmm. Look at all those guts. I’m just kidding; get that junk out of there, you’re not a monster. Using a spoon of some sort, scoop out everything that looks like seeds or other unappetizing squash innards.

    IMG_5284

    Much better. You can either keep the guts to bake the seeds (they’re just like pumpkin seeds!) or you can toss them because duh, Halloween is right around the corner and we’re going to have more pumpkin seeds than we know what to do with — and right now we’re only concerned with Spaghetti Squash. One thing at a time!!

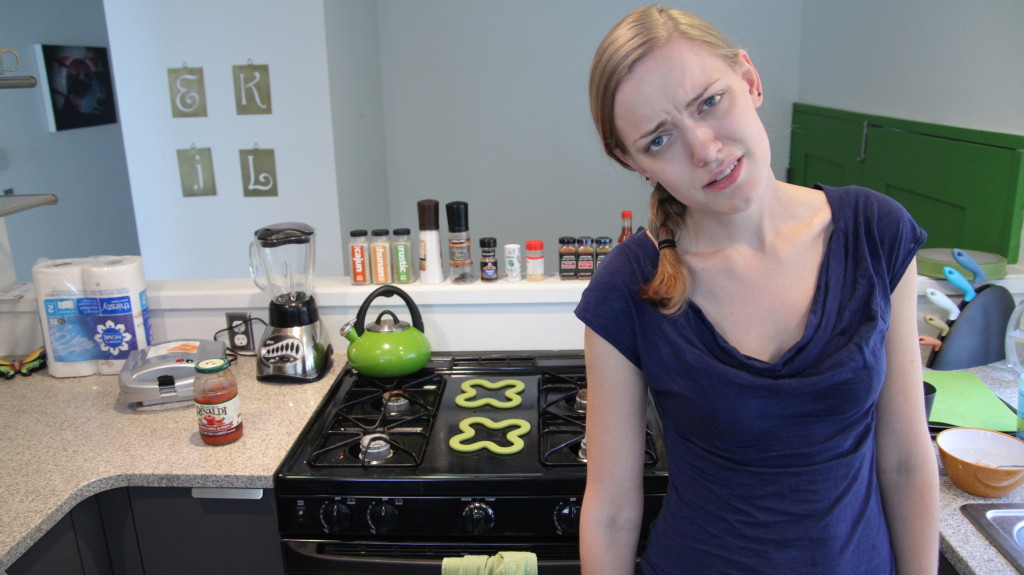
    So next, you place the two cleaned out halves of the squash on a cooking sheet, and stick it in the over. No sauces, no seasoning, nothing. Just get that thing in the oven. And make sure the oven was preheated to 350 degrees. It’ll take anywhere from 30-45 minutes, depending on how big your squash is and how well it wants to cooperate. This is much too long, in my opinion, and led to a lot of whiney impatience in the kitchen.IMG_5285I call this one the “are you kidding me, it’s only been two minutes since I last looked at the timer?”

    IMG_5288

    This one is the “what are you even doing in there you ungrateful vegetable, can’t you see I’m hungry?”

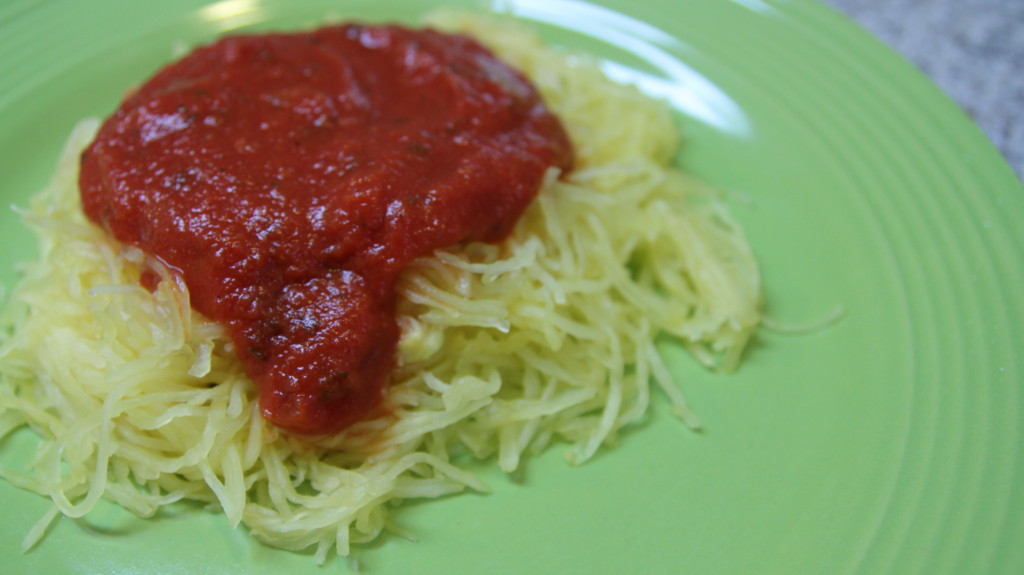
    Once it finally finishes (it takes it sweet time, I must say) you pull the squash out and the insides should be nice and soft and stringy. Gently pull the soft parts out with a fork and dump it into a bowl. Make your favorite spaghetti sauce (my favorite is a secret home recipe called “from a jar”) and dump it over the squash. Ta-da! Spaghetti, and even more delicious than using pasta.

    IMG_5292

    My favorite thing about this recipe is that as long as you don’t tell anyone how easy it is, everyone you make it for will think you’re so fancy. Wait. ….I’ve made a huge mistake.

    Have you ever tried Spaghetti Squash? Have you ever made it yourself? Let me know in the comments, or let me know if this post inspires you! It’s very delicious, and one of the many reasons I look forward to fall.

    Leave a comment!
  6. Look #19: Portland / Food Trucks!

    September 27, 2013 ♥ Posted in: Fashion/Beauty, Food, Outfit of the Day, Travel by Kristina Horner

    Portland is just a hop, skip and a jump away from Seattle – so when Joe asked if I would drive down with him for an audition he got, I really couldn’t say no. It’s always a pleasure to spend a day in a funky city like Portland, so off we went. tumblr_mtsspfV1d71qbyopio1_500 Portland is the city of weird, so I decided not to try too hard with my outfit. Comfy driving clothes, sunglasses to help against those final traces of sun, and a scarf and jacket combo for the bite of the cool autumn air. Tan boots, mauve tank and maroon jacket are all from Forever 21. Floral scarf is from ModCloth, and the sunglasses are a pair I picked up at a street vendor at a fair. Leggings are standard black ones I got a looong, long time ago at a shop in London.

    I worked in a coffee shop while Joe auditioned, and afterward, we decided to check out Portland’s famed food trucks. I’m a huge fan of foodtrucks, so rather than picking just one and ordering a full meal, we grabbed a few different items here and there to make the rounds and try multiple trucks.

    The favorite of ours by far was Brunchbox, where we ordered a Cheeseasaurus Rex:
    tumblr_mtra01150L1qbyopio1_500 The guy working the truck said we could make them battle. It made me smile. This truck also had a breakfast sandwich called the “OMG” that consisted of fried egg, bacon, ham and spam. I will return and try it one day, just wait. I dream of that day.

    The day also consisted of a short lap around Powell’s, shopping in various vintage clothing and toy shops, and dinner at a phenomenal German place we were still too full from food trucks to really enjoy. But on the plus side, we brought home GREAT leftovers.


     Note: This post may contain affiliate or referral links.

    Leave a comment!
  7. I Made This: Pizza Burgers – flying style!

    September 23, 2013 ♥ Posted in: Food, Kristina Makes Things by Kristina Horner

    I am a lot of things, but “cook” is not one of them. I am the quintessential “boxed pasta” type eater, and I kind of hate myself for it. That’s why I’m trying to make an effort to be better. My approach to cooking (and how I decide what to attempt to cook) is thinking, “what are those foods I only get a few times a year for whatever reason, that I miss the rest of the time?” There’s no reason I can’t learn how to make those things myself.

    So today, I bring you the first installment of “Kristina Makes Things”. This will be an adventure we go on together, because food is hard. But we’ll learn together. On the menu today is the Pizza Burger Flying Style. These are a staple of my family trips to North Dakota, and are only sold at the drive through Big Boy in Bismarck.

    Here's a picture of what a real pizza burger looks like! I took Joe to try them on our trip to North Dakota this summer.

    Here’s a picture of what a real pizza burger looks like! I took Joe to try them on our trip to North Dakota this summer.

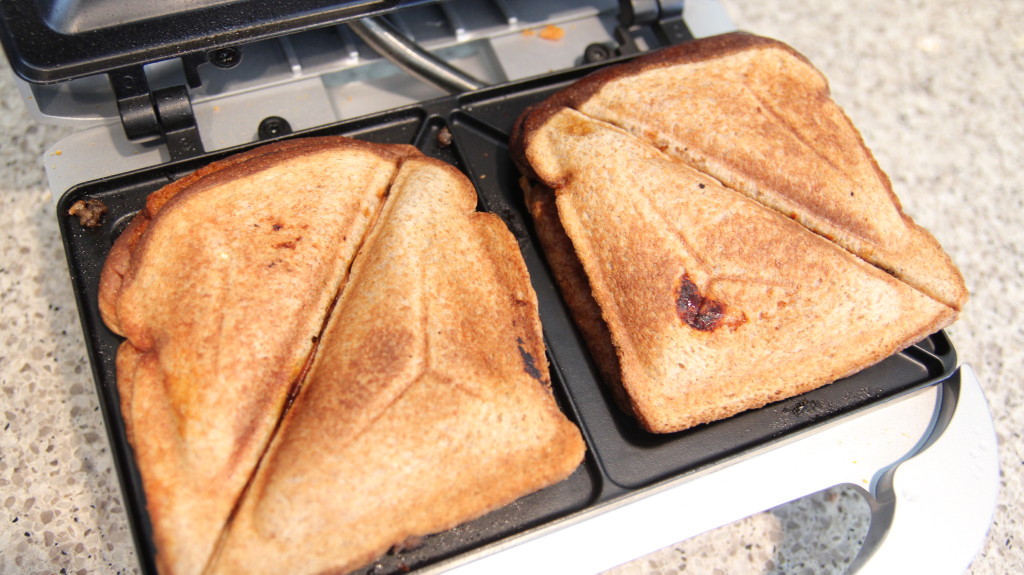
    I love them, and today, I learned how to make them. My parents would be so proud! Especially since I used the sandwich press they got me for Christmas… 8 months ago… and only opened today. Psst.. this is the one I have. It’s wonderful.
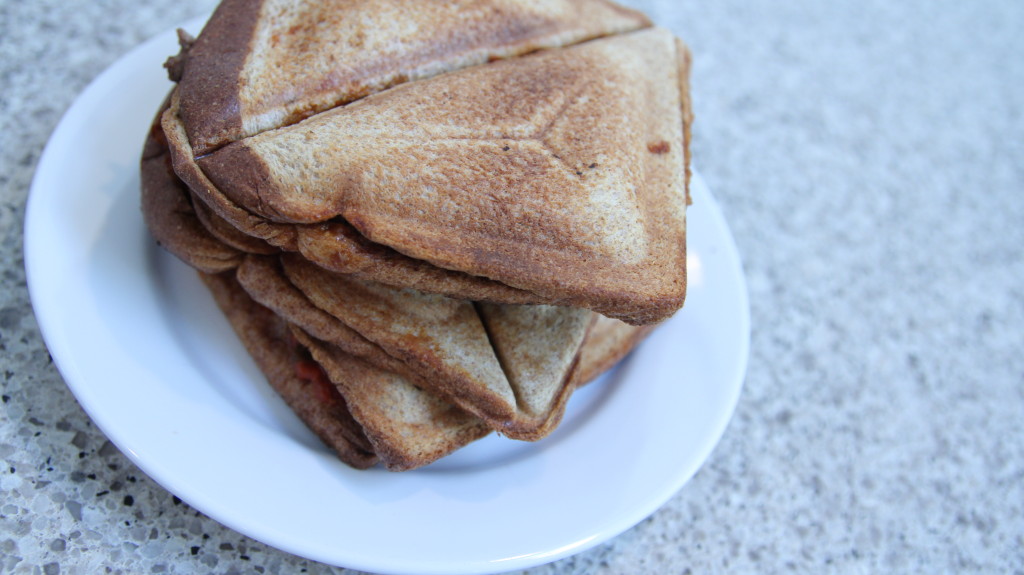
    IMG_5277

    It was fairly easy! All you need is:

    1. A loaf of bread (get pieces on the smaller side)
    2. Ground beef
    3. Mozzarella cheese
    4. Marinara or pizza sauce
    5. Italian seasoning
    6. A sandwich press

    Pre-cook the ground beef and mix the seasoning into the beef (to taste). Then put your first slice of bread on the sandwich press. Put the cheese on first, then layer on the ground beef, marinara sauce, and cover with the second slice of bread on top. Cook in your sandwich press until both sides are golden brown and a bit crunchy and there you have it! Pizza burgers, flying style!

    IMG_5278

    What makes them flying style? I have no idea. But they’re delicious, they remind me of home, and it’s better than a pizza pocket. Let me know if you try making them, or if you have any other delicious recipes I should try out in my sandwich press!

    Leave a comment!